

How to Switch/Share Location from iPhone to Mac in 5 Smart Methods
MocPOGO is the best location spoofer to switch iOS location from iPhone to Mac without jailbreak.
Want to switch your location from your iPhone to Mac? There is no built-in option or official method to do that, but there are still other methods and tools you can use to change location without any hassle. In this article, we will take you through 5 effective ways about how to switch location from iPhone to Mac with step-by-step process. And you can choose the best one according to your situation and needs.

Part 1. Know about Switching Location from iPhone to Mac?
What is Location Service on Mac
Location Services on Mac allow apps like Maps and Camera, as well as websites, to use data from networks (like Wi-Fi and Bluetooth) to determine your location. This can be either a general area or a precise location. Location Services are available on all Apple devices, including Macs, iPads, and iPhones.
When an app uses your location, a small icon will appear to show it’s active. On iPads and iPhones, the icon shows at the top of the screen, while on Macs, it appears in the menu bar.
If you turn off Location Services in your device’s settings, some apps and websites (not linked to Apple) may still be able to track you using other methods, such as Bluetooth or IP addresses. However, in emergencies, your device can still share your location with emergency services to help ensure a quick response.
Why Need to Switch Location from iPhone to Mac
The primary reason for people to switch locations from iPhone to Mac is privacy. They do not like to disclose their live locations to their family and friends.
And instead of turning off the location sharing, they would prefer to show the location of the Mac. It prevents location tracking by people. Other than that, people switch locations for safety purposes, pulling up a prank, playing games, etc.
Also Read: How to Stop Sharing Location without Notifying iMessage in 6 Ways
Part 2. How to Switch Locations from iPhone to Mac in 5 Effective Methods
Here are 5 effective ways to switch locations from iPhone to Mac.
- Way 1. Use MocPOGO Location Switcher🔥
- Way 2. Use Xcode
- Way 3. Use “Find My” App
- Way 4. Use Messages
- Way 5. Use Maps
Way 1. Use MocPOGO Location Switcher🔥
MocPOGO is an incredible location switcher to change iPhone location on your Mac. It can instantly change iPhone GPS location of the device to any location you want. You can select any country or region and be precise with the address. And you don’t even have to jailbreak your iPhone at all.
168,282 people have downloaded it.
- One click to change iPhone location to anywhere on your Mac within 1 minute.
- Work with all iPhone devices and versions, including iPhone 17 and iOS 26.
- Instantly switch iPhone location on Mac without detection to keep privacy.
- Switch iPhone location with multi-device control up to 15 devices.
- Change iPhone location of all location-based games/apps, like Pokemon Go, Monster Hunter Now, Strava, X, WhatsApp and LinkedIn, etc.
- Compatible with almost all Android brands and latest versions, like Samsung and Xiaomi, etc.
How to Switch iPhone Location from iPhone to Mac by MocPOGO
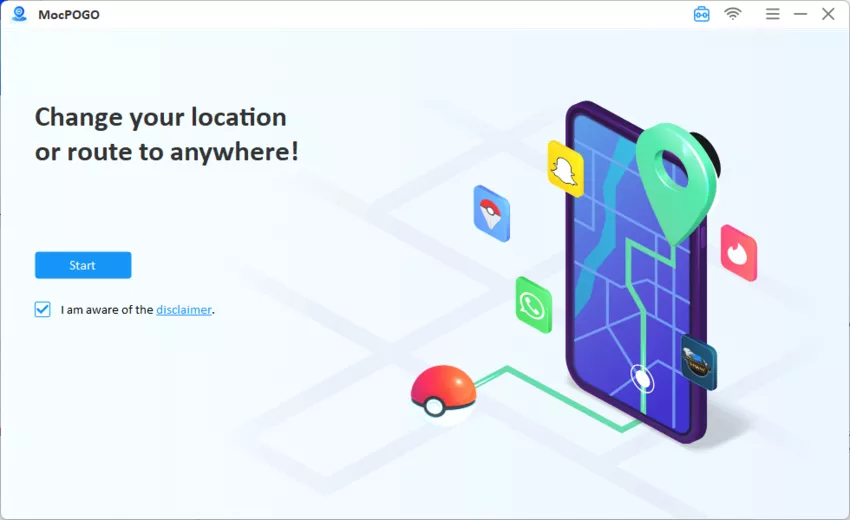
Step 1 Download MocPOGO Mac version and install it on your Mac. Open the application. Click Start.
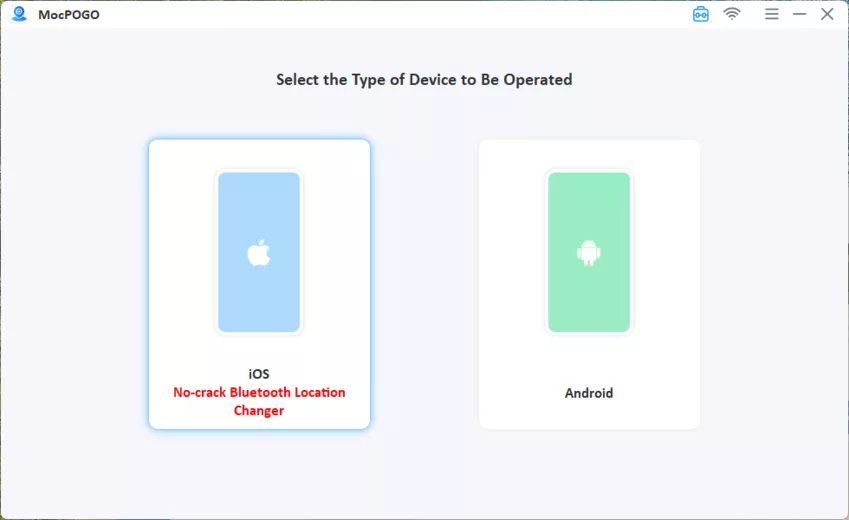
Step 2 Connect your iPhone to the computer. Select iOS. Now, enable Developer mode on your iPhone by following the instructions.
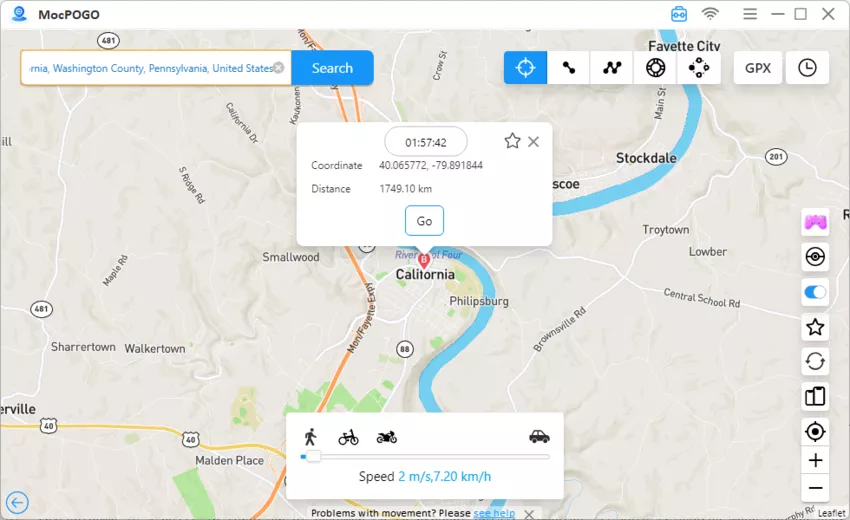
Step 3 In the Teleport mode, enter the desired location and click Search. Click Go and your location on iPhone, including all location-based apps will be changed instantly. Similarly, you can use other spoofing modes on MocPOGO.
Not only can you change the location but you can also imitate movement. You can select a route and simulate movements when you play AR games. It will show as if you are walking or driving on a route. It makes everything look natural, and you can change the location as many times as you want. It is an all-in-one location changer to ensure your privacy.

Note:
You can also download MocPOGO iOS or Android version app to change iPhone and Android location without jailbreak and root directly.
Way 2. Use Xcode
Xcode is a developer tool you can use to create applications for iPhone, iPad, Mac, Apple TV, etc. But you can use it to spoof the location of your iPhone. You just need to connect your device, and once connected and the program is built, it allows you to change to any location. Basically, it is for development purposes, but you can use it to spoof locations. And the best part is that it is free.
How to Switch Location from iPhone to Mac with Xcode
Step 1 Search for Xcode in the Mac App Store and open it. Connect your iPhone to the computer.

Step 2 Go to File > New and click Project. Select Single App View and click Next.

Step 3 Enter the Product Name and click Next. Select the location and click Create.
Step 4 At the top, you will see the iPhone option. Click it and select your iPhone.
Step 5 Under Signing, add your iCloud account. Click the Play button to build it.
Step 6 Once everything is done, you will see a white screen on your device. On your device, go to Settings > General. Click Profiles. Select the email you signed up with.
Step 7 Click the Play button. You are ready to spoof the location. At the bottom, click the mouse cursor icon. You will see some pre-built locations. You can select any of the locations or add a GPX file.

Note:
Using Xcode is a little complicated. If you don’t have any tech skills, we recommend you to use MocPOGO instead of Xcode.
Way 3. Use “Find My” App
In your Find My, you can select the device for location sharing. On your Mac, you can enable its location sharing and prevent location sharing of your iPhone.
How to Share location from iPhone to Mac with Find My
Step 1 Open the Find My application. You can also use your browser; go to icloud website and then open the app.
Step 2 Go to the Me tab. Select Use this Device as My Location.
How to Share Location from iPhone to Mac with Find My
You can also share the location from iPhone to your Mac. You can select the person with whom you want to share the location. Let’s see how you can do that.
Step 1 Open the Find My app. Go to People and click Share My Location.
Step 2 You can enter the name of the person, email, or phone number. Select the recipient from the contact list.
Step 3 Click Send. Now, select the duration for which you want to share the location.

Way 4. Use Messages
You can share your location through the Messages app on Mac just like you would on an iPhone.
How to Switch location from iPhone to Mac with Messages
Step 1 Open Messages on your Mac and select a conversation.
Step 2 Click the Info button in the top-right corner.
Step 3 Choose Share My Location and select how long you’d like to share it.

Way 5. Use Maps
If you prefer sending a specific place instead of your live location, you can use the Maps app.
How to Switch location from iPhone to Mac with Maps
Step 1 Open Maps on your Mac and either search for a place, drop a pin, or click the blue dot to use your current location.
Step 2 Click the Share button in the top-right area.
Step 3 Send the location via AirDrop, Messages, Mail, or another available option.

Part 3. FAQs about How to Switch Location from iPhone to Mac
Q1: Can you find the iPhone location from MacBook?
Yes, you can find the location of your iPhone from MacBook. You just need to open Find My. Go to the Devices and select your iPhone. It will show you the current location.
Q2: How to turn on location services on Mac?
If you want to enable Location Services on your Mac, open the Apple menu, go to System Settings, select Privacy & Security, and toggle Location Services on. This applies to macOS 13 and newer.
Q3: How to turn off location services on Mac?
Go to the Apple menu and click System Settings. Click Privacy & Security. Click Location Services. Here, turn off the location services after entering the password.
Q4: Can you find an iPhone if it’s turned off?
You can’t track an iPhone that’s turned off unless Find My was enabled beforehand. According to Apple, a device can’t be located through iCloud if it hasn’t shared its location in the last 24 hours, if the battery is dead, or if location services are switched off.
Conclusion
Switching location from iPhone to Mac is sometimes necessary, especially when privacy is at risk. People find different methods to change the location, but most of them are useless. We have shared some incredible and effective ways you can try. If you want to fake your iPhone location, the best way is MocPOGO Location Switcher. It is a location changer that instantly changes the location of the device without leaving any clue. Now download MocPOGO for free and switch location from iPhone to Mac without any hassle.

